
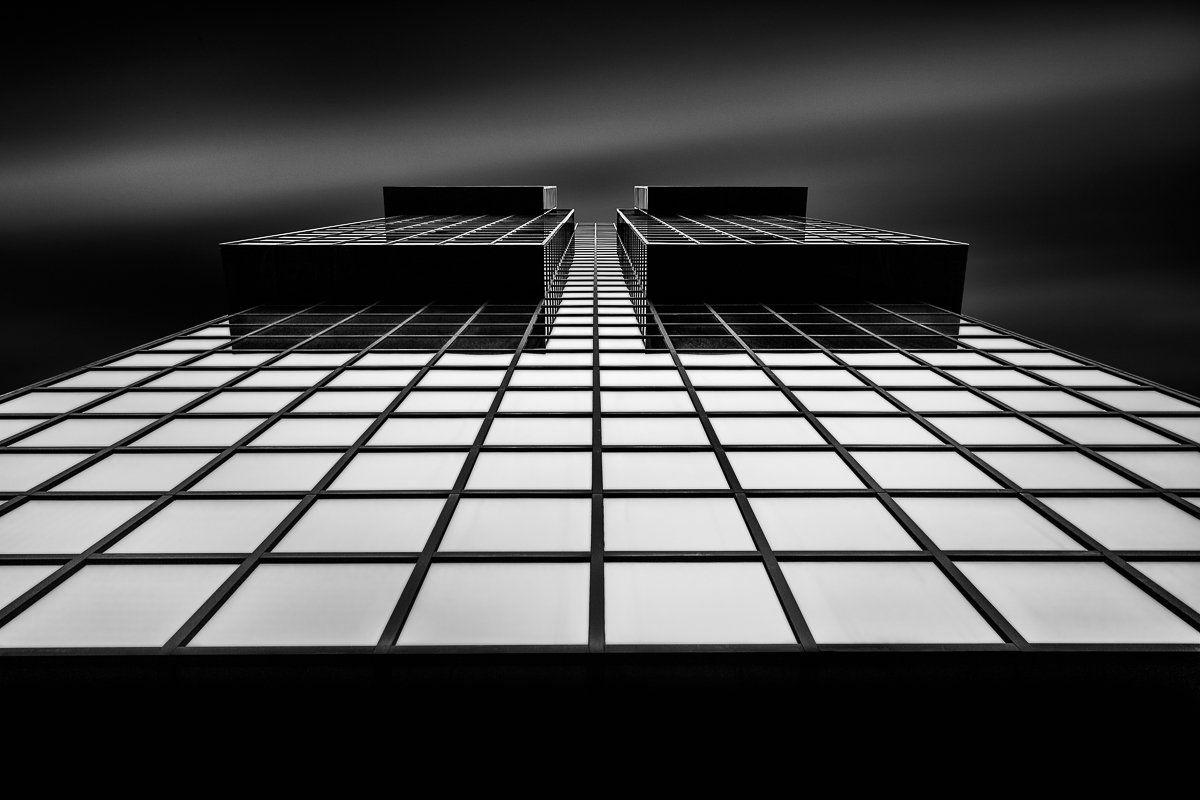
I wrote Mastering Long Exposure Photography because the technique looks simpler than it is. Attaching a dark filter and leaving the shutter open is only the mechanical part. The more important decisions are what is moving, what is not, how those elements will interact over time and whether the final frame will actually be stronger because of the longer exposure.
London is particularly good for learning this because architecture gives you something fixed against which movement can register. The Thames, reflective docks, traffic, changing cloud and large numbers of pedestrians give you several different kinds of motion within a compact area.
What you actually need
You do not need a huge amount of equipment, but the few pieces you use need to be reliable.
- A sturdy tripod. The camera must remain genuinely still for the entire exposure. Keep the centre column low and avoid hanging a bag where it can swing in the wind.
- Neutral density filters. A 6-stop and a 10-stop filter will cover a very large range of daylight situations. You can go denser when you deliberately want several-minute exposures in bright conditions.
- A remote release or self-timer. This avoids touching the camera as the exposure begins. Many modern cameras can also be triggered from an app.
- A clean lens and filter. Dust, spray and raindrops become much more irritating when you have waited several minutes for the frame.
- A lens hood and cloth. Useful for stray light and for the more predictable feature of London weather: moisture.
If you are new to filters, my separate guide to using neutral density filters explains the workflow in more detail.
Choose the shutter speed for the movement
There is no universally correct long-exposure shutter speed. The right duration depends on how quickly the subject is moving and what you want that movement to look like.
| Subject | Useful starting point | What to look for |
|---|---|---|
| Fast-moving people | About 1/4 sec to several seconds | Gesture, partial blur or disappearing figures |
| Traffic | Several seconds to 30 sec+ | Continuous light trails and clean separation |
| Water | A few seconds to around a minute | Texture versus a very smooth surface |
| Cloud | 30 sec to several minutes | Direction, speed and whether the movement supports the architecture |
These are starting points, not formulas. Take a test frame, look at what the movement is doing and adjust. A two-minute exposure is not automatically more successful than a twenty-second one.
Build the composition before adding the filter
This is the point I emphasise most when teaching long exposure photography. A filter cannot rescue a weak frame.
- Find the static structure first. Decide what remains visually solid while everything else moves.
- Predict the direction of movement. Clouds moving sideways across a vertical tower create a different result from clouds moving directly towards the camera.
- Check the edges. A small bright object or clipped element will still be distracting after a three-minute exposure.
- Focus and test before fitting a very dark filter. It is much easier to solve composition, focus and base exposure while you can still see clearly.
- Only then extend the shutter speed. The blur should support the structure you have already created.

Where to photograph long exposures in London
The Thames, South Bank and Bankside
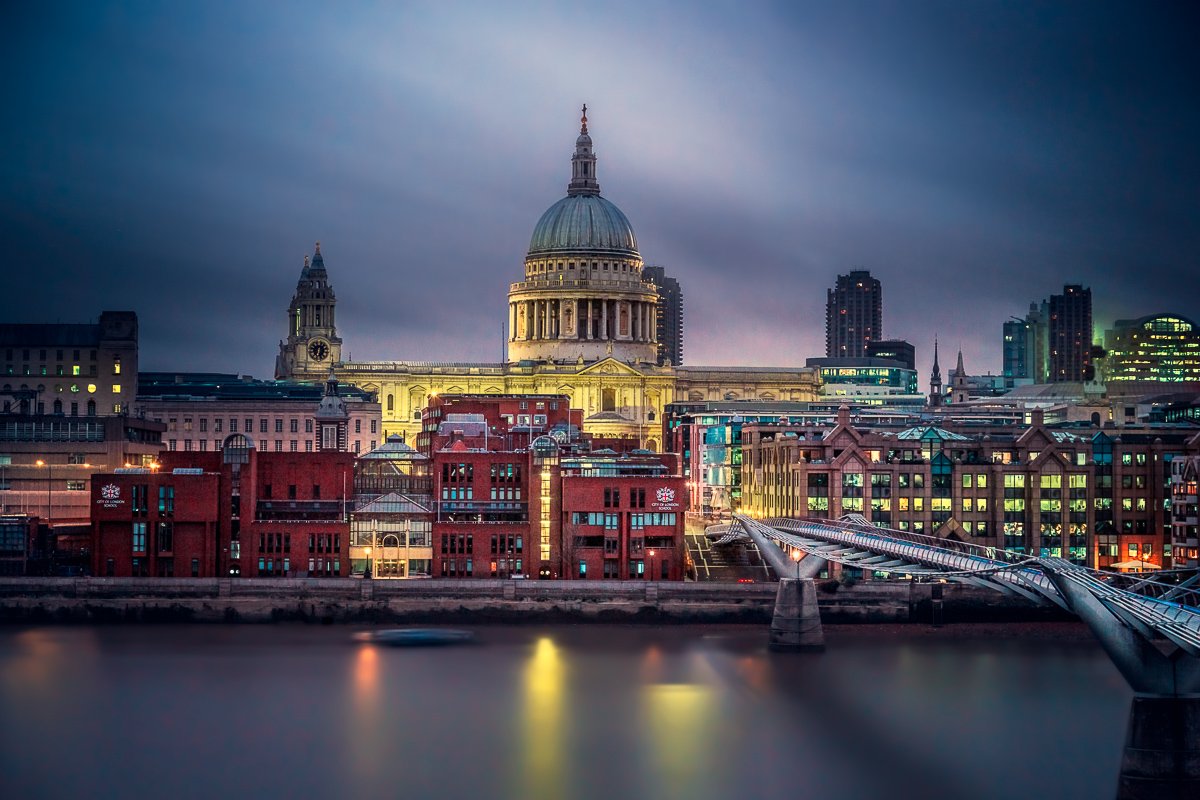
This is one of the easiest areas in which to combine water, architecture, sky and artificial light. Bridges and river walls give you stable geometry while the Thames provides continuous movement.
Best for: smooth water, moving cloud, blue-hour cityscapes and reflected light.
Approach: avoid making the long exposure effect the only point of the image. Find a clean relationship between bridge, building, river and sky first. If you are also interested in the architecture itself, see my guide to photographing architecture in London.
Tower Bridge and the surrounding river
Tower Bridge is an obvious subject, but the surrounding riverbanks give you many ways to photograph it without standing in the most familiar viewpoint. The moving river and cloud can help separate the highly recognisable structure from the usual tourist snapshot.
Best for: blue hour, reflections, river movement and cloud streaks.
Access note: personal handheld photography inside Tower Bridge is permitted under the attraction’s current conditions, but tripods are prohibited inside. Commercial or more formal photography has separate requirements. Check the latest Tower Bridge conditions if your plan involves the bridge itself rather than a public riverside viewpoint.

Westminster and the Embankment
The river, traffic and large recognisable forms make this area useful if you want to experiment with different kinds of movement in one session. Windy days can create strong cloud movement, while twilight gives you artificial light before the sky becomes completely black.
Best for: moving cloud, river texture, vehicle trails and the transition from daylight to city light.
Canary Wharf docks
Water between the towers can be remarkably calm, which makes this a different kind of long-exposure location. Rather than using a long shutter only to create obvious blur, you can use it to quieten small disturbances in the water and strengthen reflections.
Best for: reflections, blue hour, geometric compositions and contrasts between moving sky and still architecture.
Access: much of Canary Wharf is privately managed, so check current conditions before arriving with a tripod or conducting an organised shoot.
The City of London
Long exposure in the City does not have to mean water or clouds. A shutter speed of a second or two can introduce blur into moving pedestrians while keeping the architecture completely sharp. Longer exposures can reduce a busy flow of people until the building begins to dominate.
Best for: using movement selectively rather than always aiming for multi-minute exposures.
If you are working with larger equipment, a group or a formal shoot, remember that the City contains both public and privately managed land. The City of London guidance is worth checking in advance.
Common long exposure mistakes
Choosing the filter before the photograph. Decide what shutter speed the scene needs, then choose the filter that gets you there.
Letting the tripod move. Wind is often the real problem, not the length of the exposure. Keep the tripod low, avoid extending the centre column unnecessarily and do not let straps or bags flap against it.
Forgetting image stabilisation. Some modern camera and lens systems handle tripod use automatically, but others can introduce movement while trying to stabilise an already stable camera. Know how your own system behaves.
Light leaks. With very dense filters and long exposures, stray light can enter through gaps around filter systems or, on some DSLRs, through the optical viewfinder. Mirrorless cameras do not have that particular viewfinder path, but poorly seated filters can still cause problems.
Colour casts. Dense ND filters vary in neutrality. Shoot RAW and check the result rather than assuming every filter is perfectly neutral.
Overexposed highlights. Long exposures can make it easy to lose bright skies, illuminated signs or reflections. Check the histogram and reshoot if necessary.
Waiting three minutes before checking a basic mistake. Make short test exposures first. Confirm composition, focus and exposure before committing to the long one.
<
A simple field workflow
When teaching the technique on location, I keep the process deliberately repeatable:
- Compose without the dense filter.
- Set the required aperture and ISO.
- Focus and confirm sharpness.
- Take a normal exposure as a reference.
- Fit the ND filter carefully.
- Calculate or meter the new shutter time.
- Trigger the exposure without touching the camera.
- Check histogram, sharpness, movement and colour.
- Change the shutter time because of what the image needs — not because a particular duration sounds impressive.
Learn long exposure on location
We can work through ND filters, changing light, focusing and exposure calculation on location, while keeping composition at the centre of the session.
Long exposure should change the image, not just decorate it
The most useful question is always whether extending time makes the photograph stronger. Sometimes the answer is several minutes. Sometimes it is half a second. Sometimes the better photograph is the normal exposure.
Once you stop treating long exposure as an effect and start using it as a compositional tool, London becomes particularly rich: solid architecture, changing weather, water, traffic and people all move at different speeds, and the shutter lets you decide how much of that time appears in the final frame.